
Before completely running out of groceries, I made this Moroccan Chicken on Thursday night. The spice combination of the Moroccan dish was new and different, and the blend of savory chicken/sauce with sweet fruit reminded me of Savory Peach Chicken. No wonder there were no leftovers. Based on commentary from Taste & Tell and Cooking Light, I decided to double the spices (already adjusted in the ingredient list below), and I'm glad I did. I must say, the blend of cinnamon and cumin was unexpectedly appetizing. I was a bit concerned when I finished cooking because the sauce seemed too liquidy, but I lived with it - mostly because I didn't have any cornstarch or flour to use as a thickening agent. Luckily, there was no need to worry because the liquid was absorbed by the rice. Another successful dinner - there were no leftovers! We paired dinner with a bottle of crisp white wine - a 2007 V. Sattui Sauvignon Blanc.
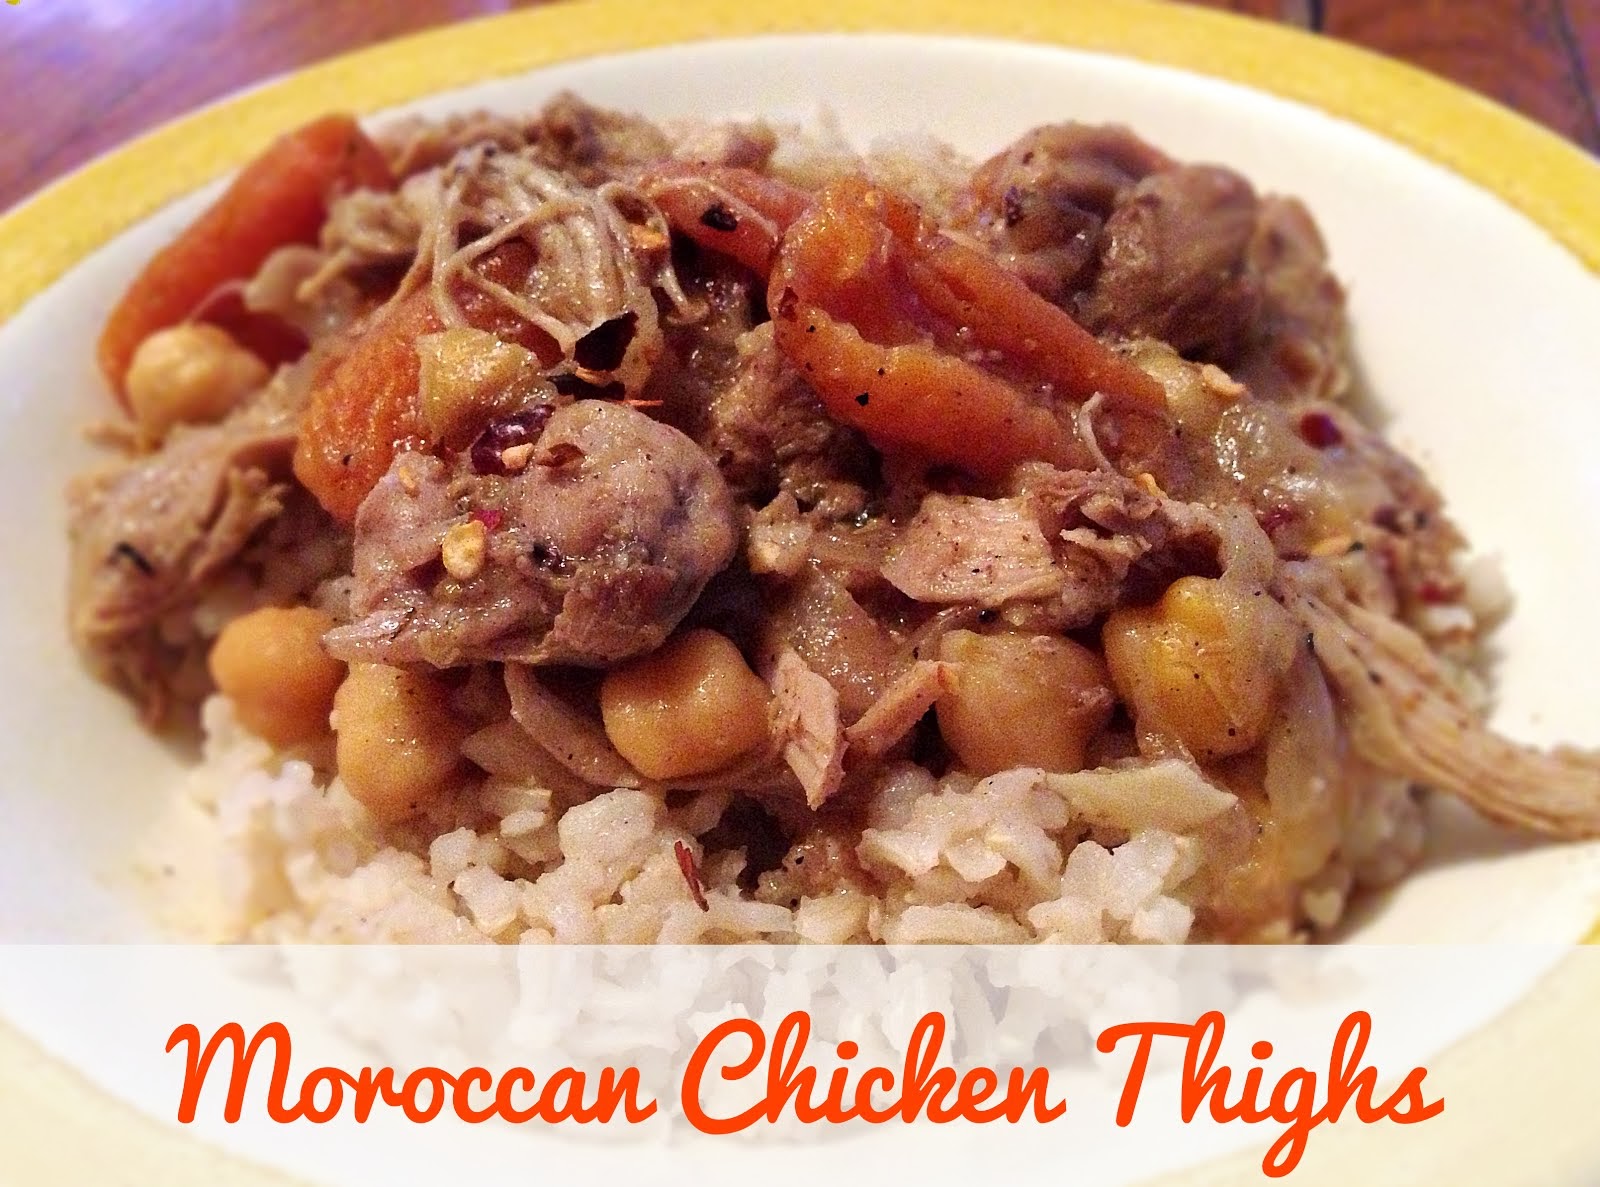
Moroccan Chicken Thighs
Adapted from Taste & Tell
Time: 1 hour 40 minutes
Serves: 4-6
Ingredients
1/2 tablespoon olive oil
2 pounds boneless, skinless chicken thighs
2 large onions, thinly sliced
2 tsp ground ginger
2 tsp ground cumin
1/2 tsp salt
1 tsp ground coriander
1 tsp ground cinnamon
1/2 tsp black pepper
5 garlic cloves, minced
1 1/2 cups chicken broth
1 cup uncooked basmati rice
2 cups water
15.5 oz. can chickpeas, drained and rinsed
7 oz. package dried halved apricots
Directions
1. Heat the olive oil in a large Dutch oven over medium-high heat. Add half of the chicken and cook until all sides are browned, about 2-3 minutes per side. Remove and repeat with the remaining chicken.
2. Add the onion to the Dutch oven and cook until tender, stirring frequently to avoid burning. Add the ginger, cumin, salt, coriander, cinnamon, pepper and garlic. Saute for 30 seconds, until fragrant. Stir in the broth, and return the chicken to the pan. Bring mixture to a simmer. Cover, reduce heat and simmer for 1 hour, until chicken is tender.
3. While chicken is cooking, combine rice and water in a medium sauce pan. Heat for 15 minutes, bringing to a boil, then reduce heat to low and simmer for 3o minutes.
4. Using a slotted spoon or spatula, remove chicken from the pan and cut into bite-sized pieces. Add chicken, chickpeas and apricots to the Dutch oven. Cover again and simmer 10-15 minutes. Serve chicken mixture over rice, using excess liquid as sauce.


