HOME     ABOUT    CONTACT

Tuesday, October 29, 2013

Enchilada Zucchini Boats

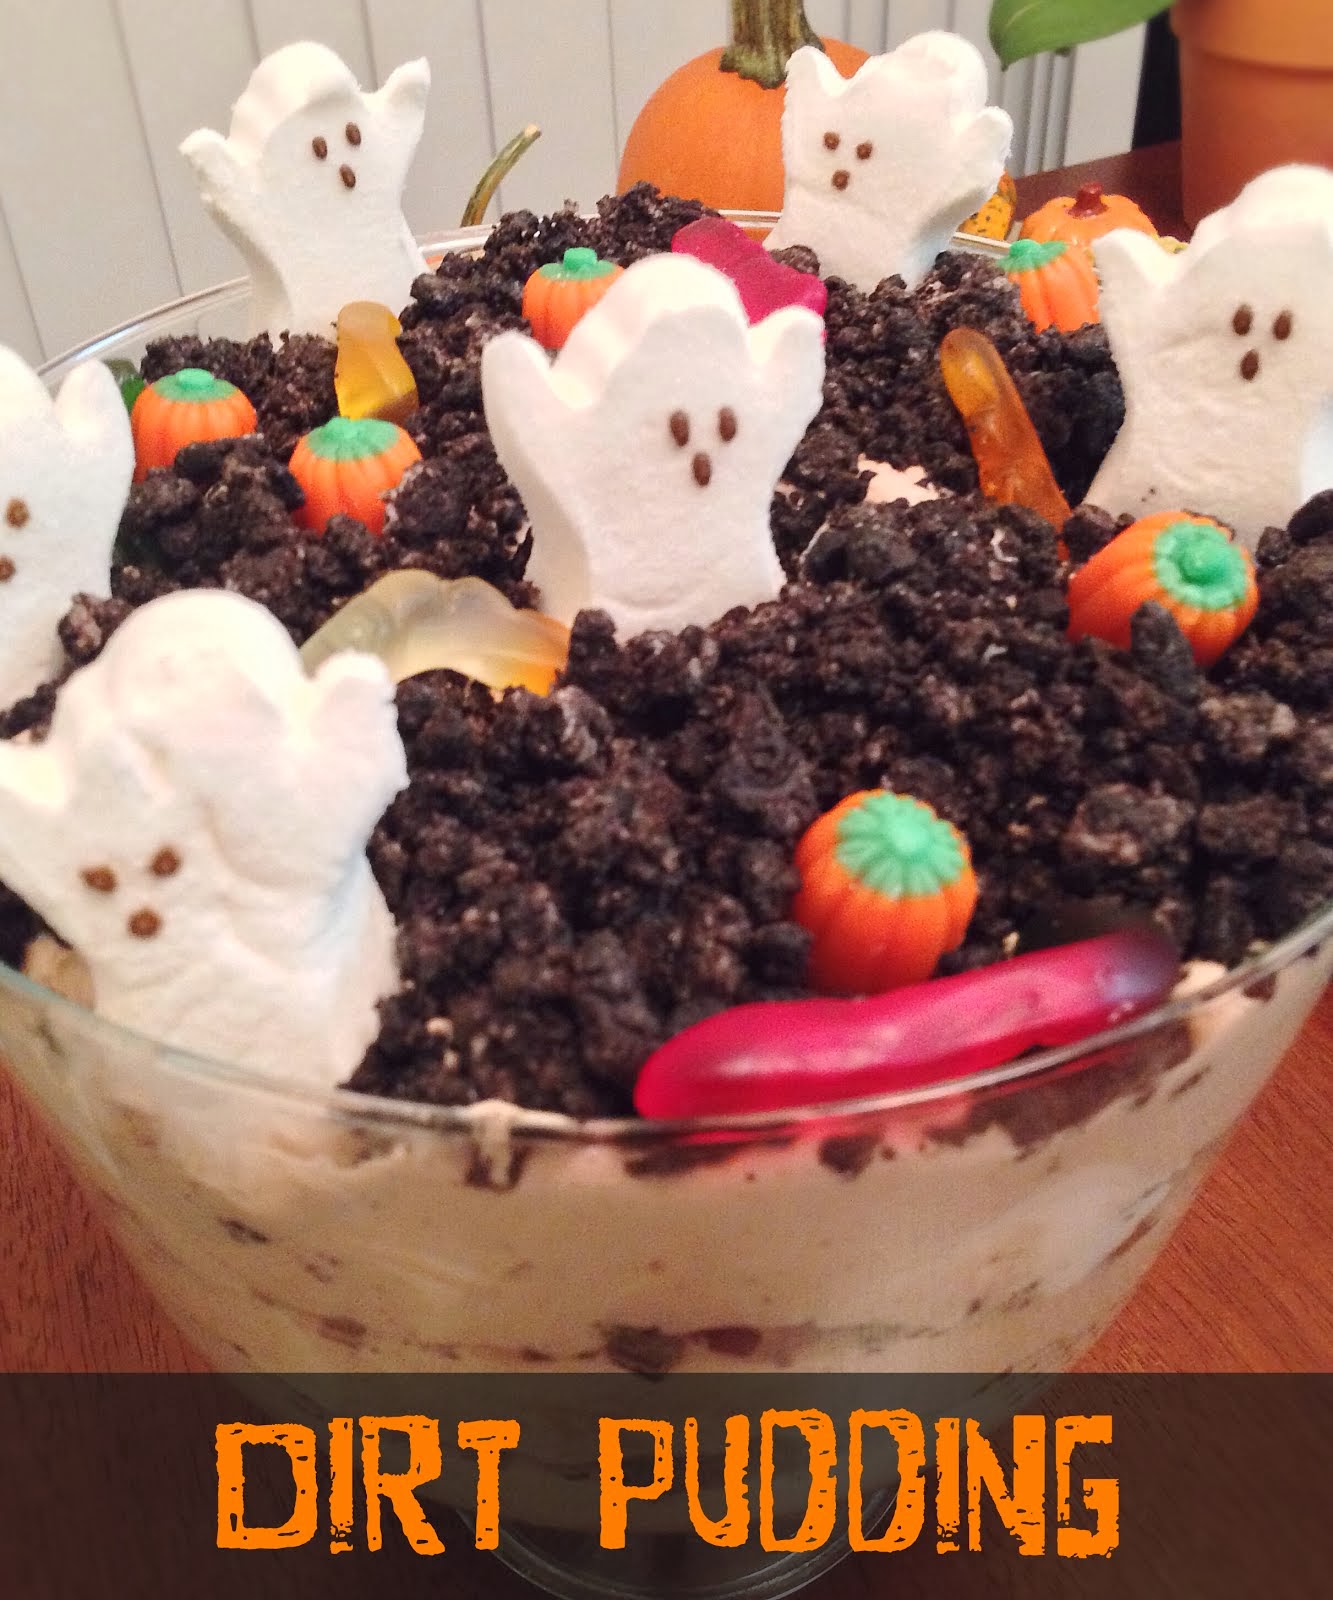
One year ago today, while KK and I were fortunate enough to be on a beach in Thailand, Hoboken and the rest of the Eastern seaboard were hit by Hurricane Sandy.  Thankfully, we were able to keep in touch with family and friends through email and social media sites (I joined Twitter so I could see pictures of Hoboken).  A friend moved our car, otherwise it would've been totaled by the 3-4 feet of water our apartment's garage took on.  And finally - thankfully our heat and power were restored by the time we arrived home, but much of the city was still in the dark.  According to Hoboken's mayor, nearly 80% of Hoboken had flooded, many shops and bars failed to reopen, and the PATH train was down for months (many of you probably saw this picture of the train station I use everyday).  It's amazing to see how the city's residents came together and rebuilt after the storm's devastation, and it's even more reassuring to hear that that Hoboken officials are still working to improve the city's infrastructure to lessen the impact of future flooding.  Hoboken's been my home for 12 years, and I think KK and I will be here for a few more, so I'm happy to see the city bouncing back to life!


Now - onto the food! I should warn you that these zucchini boats take awhile to prepare.  It's not that they were difficult to make, but they just took longer than a normal weeknight meal.  This recipe works best if you already have extra shredded chicken, otherwise you'll have to add additional cook time.  Luckily, KK had enough foresight in his menu planning to have me prepare extra chicken when I made the Chicken Chili Tacos (we actually had these boats the same week as the tacos, but my posting schedule has been wacky recently).  To hollow out the zucchini boats, I simply used a regular spoon from the kitchen drawer.  If you're feeling fancy (and if you have one), feel free to use a melon baller for that step.  The rest of the steps were straightforward and easy to follow.  Use as much or as little cheese as you like when topping the boats.  Since the primary ingredients of this meal are vegetables, we opted not to serve dinner with a side salad.  I did, however, get a little innovative with the leftovers - I chopped up one of the leftover boats and used it as salad topper for lunch later during the week!

Enchilada Zucchini Boats
Adapted from Skinny Taste
Time: 1 hour 10 minutes
Serves: 4

Ingredients

4 medium zucchinis
1 tsp olive oil
1 small onion, chopped
3 cloves garlic, crushed
1 green bell pepper, diced
½ lb. chicken breast, cooked and shredded
1 tsp cumin
½ tsp dried oregano
½ tsp chipotle chili powder
3 Tbsp water
1 Tbsp tomato paste
10-oz. can enchilada sauce
Salt and pepper, to taste
¾ c shredded Mexican cheese
Salsa and sour cream, optional toppings

Directions
1. Bring a large pot of water to boil.  When water boils, preheat oven to 400.

2. Meanwhile, cut zucchini in half lengthwise.  Using a small spoon, scoop out flesh, leaving 1/4" thick zucchini "boats."  Save insides of zucchini for later use.  Drop the zucchini halves in pot of boiling water.  Cook for 1 minute, and remove.

3. Heat olive oil in a large nonstick skillet over medium heat.  Cook onion, garlic and bell pepper for 3 minutes, until onions become translucent.  Add insides of zucchini, season with salt and pepper, and cook 4 minutes.  Add the cumin, oregano, chili powder, water, and tomato paste; cook for 4 minutes.  Finally, add chicken, stir thoroughly, and cook for 3 more minutes.

4. Cover bottom of a glass 9x13 baking dish with ¼ cup enchilada sauce.  Using a spoon, fill each boat with about ⅓ cup chicken mixture.

5. Top filled zucchini boats with remaining enchilada sauce and shredded cheese.  Cover baking dish with foil and bake for 35 minutes.  Cheese will be melted and zucchini will be cooked.  If desired, serve topped with additional salsa and sour cream.

Sunday, October 27, 2013

Halloween Dirt Pudding

KK and I went to a groovy party last night! My old roommate and her boyfriend hosted a potluck Murder Mystery night.  In all honesty, I was a little skeptical at first, but it ended up being a great night! Thanks to the Saturday Night Cleaver kit, we had proper invitations, disco music, and detailed character profiles.  We skipped the suggested costumes, but there were several faux-New Yawker accents flying around the room all evening.  My "husband," Stan A. Live, was the victim and, by the end of the evening, everyone was accusing everyone of the murder! Along with a cheesy murder mystery, we enjoyed some great food during the potluck portion of the evening: pumpkin muffins, pasta salad, crockpot lasagna, chicken and rice, chili in bread bowls, and apple cupcakes.  To top it off, I also made a spooky rendition of dirt pudding! I'll admit: I had some for dessert last night... and with lunch today... and I'm planning to have some after dinner tonight, too!! As KK said in his contribution to this post, "YUM!"

I don't know why, but dirt pudding reminds me of my childhood.  It's so easy to put together, and it tastes great! I preferred this version of the dirt pudding over the Easter Trifle I made earlier this year; although the trifle was good, it was a little dense because of the brownies.  I used one package of regular Oreos and one Double Stuffed.  It would be interesting to try some of the other Oreo varieties: golden, mint, peanut butter, or birthday cake.  If, like me, you don't have time to let your butter and cream cheese come to room temperature, soften them in the microwave; check every 10 seconds as they soften.  I also nuked the Cool Whip for 15 seconds because it was frozen solid and would've been impossible to combine with the pudding.  You can choose whatever flavors of pudding you prefer - chocolate, dark chocolate, vanilla... the possibilities are (somewhat) endless! I'm not a huge chocolate fan, so I used one package of chocolate and one of vanilla.  I threw a couple of gummy worms into the pudding as I was layering, then stuck the rest into the top layer of Oreos before refrigerating the pudding.  To add a Halloween twist to the dirt, I added the ghost Peeps and candy corn pumpkins when it was time to serve dessert.  Enjoy!

Dirt Pudding
Adapted from Neighbor Food Blog
Time: 25 minutes + 3 hours refrigeration
Serves: A lot!

Ingredients
2 packages Oreos, regular or Double Stuffed
8 Tbsp butter, melted
4 Tbsp butter, softened
8 oz. cream cheese, softened
1 cup powdered sugar
3 1/2 cups milk
2 small boxes instant pudding
16 oz. Cool Whip, lite or regular
Gummy worms, Peeps, Candy Corn for topping

Directions
1. Place Oreos in a large Ziploc bag; use a rolling pin to crush cookies.  Pour melted butter into the bag and shake to combine.

2. Using a Kitchen Aid or electric mixer on medium high speed, beat softened butter until light and fluffy, about 2 minutes.  Add cream cheese and sugar; beat until smooth, about 2 minutes.  Add milk and pudding.  Beat on low until partially combined, then increase speed to high and beat until pudding begins to thicken; fold in Cool Whip.

3. Assemble the dirt in a trifle dish or large glass bowl.  Begin and end with a layer of Oreos, alternating with a layer of pudding over top; repeat until both are gone.  Stick gummy worms into the dirt pudding on top.  Refrigerate for at least 3 hours or overnight; serve cold.

Wednesday, October 23, 2013

Chicken Tikka Masala

Happy Hump Day! We're having a pretty slow week here in Apt. 3D, but it's a welcome lull because we've been on the go since getting home from vacation.   Since it's such a quiet week, I'll jump right into the food portion of this post rather than bore you with mundane stories from the week - eye doctor's appointment, cleaning, laundry... boring!!!

I love Indian food! One of these days I’m going to eat at Karma Kafe in Hoboken, but in the meantime I’m lucky enough to be spoiled by my mother-in-law and all of KK’s aunties who are all amazing cooks.  I’ve started to dabble with cooking Indian in the kitchen, including the Masala Pizza I made in early September, so it was only appropriate for me to try a more traditional spin of Tikka Masala.  I added the marinade ingredients directly into the Ziploc bag I was using to thaw the chicken, squished the bag around to ensure everything was thoroughly coated, and then let the chicken marinate for about 4 hours in the refrigerator.  If you have difficulty draining the excess marinade, don’t fret – it will simply add to the flavor of the sauce if you leave it in.  Watch the sauce as it thickens so it doesn’t start to boil and splatter all over your stovetop.  I chose to cook up some rice and serve the Chicken Tikka Masala mixed in with the rice.  Alternatively, serve this by itself or with naan.

Chicken Tikka Masala
Adapted from Mel's Kitchen Cafe 
Time: 45 minutes + 1-8 hours for marinating
Serves: 2-4

Marinade Ingredients
1 c plain yogurt
1 Tbsp lemon juice
2 tsp ground cumin
1 tsp ground cinnamon
½ tsp cayenne pepper
1 ½ tsp paprika
2 tsp black pepper
1 Tbsp fresh ginger, minced
1 tsp salt
1 lb. chicken breast, cut into small pieces

Other Ingredients
1 Tbsp vegetable oil
1 clove garlic, minced
1 jalapeno pepper, finely chopped
2 tsp ground cumin
2 tsp paprika
salt, to taste
8-oz. tomato sauce
1 c. light cream

Directions
1. Combine all marinade ingredients except chicken.  Pour sauce over chicken and refrigerate for 1-8 hours.  Grill or cook chicken in a large nonstick skillet. Discard excess marinade.

2. After the chicken is done cooking, heat vegetable oil in the same skillet over medium heat.  Sauté garlic and jalapeno for 1 minute; season with cumin, paprika, and salt.  Pour in tomato sauce and light cream.  Reduce heat to low and simmer 20 minutes, until sauce thickens.  Add cooked chicken to the sauce, and simmer for 10 additional minutes.  Serve warm.

Monday, October 21, 2013

Spicy Tofu Stir Fry

Unofficially, our Italy/Portugal trip was an early first anniversary celebration, but our actual anniversary was this Sunday so we spent the weekend with some of our nearest and dearest friends! We had dinner at A&E’s house on Friday night, complete with some competitive Wii Sports and giant Jenga.  Sadly, I didn’t take any pictures – I have to get better at that! We caught up with my high school friend Dan and his fiancée on Saturday; they were visiting from DC, so we caught up over pumpkin beers at 7B in the East Village.  After Dan headed off to the Pearl Jam concert in Brooklyn, KK and I had an anniversary date night at Paprika and Puddin’.  Everything was delicious, and we used our newly acquired Italian wine knowledge to order the perfect bottle of Chianti.  I also continued the day’s pumpkin trend with pumpkin ravioli with brown butter sage for dinner and pumpkin pudding for dessert! For our actual anniversary on Sunday, KK and I joined a group of friends for tailgating and football at the Jets-Patriots game.  We got a little sentimental as we headed to the stadium because we passed our wedding venue, the Sheraton Meadowlands! We capped the day off with the traditional first anniversary dessert of frozen wedding cake.  Lasting a year in the freezer, including a few post-Sandy days without power, our dulce de leche cake from Palermo’s was much better than anticipated.  It was actually so good, that we saved some for tonight, too.  I think the tasty year-old cake is a positive sign for the many, many years of marriage we have ahead of us! Cheers!

Here's yet another take on stir fry/fried rice.  Apparently I gravitate towards these simple Asian dishes because there are tons of different varieties in my gmail.  I like them because they're simple, quick, and pack in a lot of vegetables - pretty much any vegetable that I have in stock at that particular time.  This time around, we went vegetarian - partially because we didn't have any chicken thawed and partially because I love tofu.  I didn't realize that marination time was required, so I was a little hungry and impatient by the time the tofu was ready to be cooked.  I didn't allow it to fully crisp so, as I knew it would, the tofu started to crumble when I tossed it with the vegetables and rice.  Not the end of the world - the dish still tasted great with sliced carrots, water chestnuts, and peanuts (note - I excluded the broccoli that was called for in the original recipe).


Spicy Tofu Stir Fry
Adapted from Fake Ginger
Time: 35 minutes
Serves: 2-4

Ingredients
1 cup uncooked rice
5 Tbsp low-sodium soy sauce, divided
2 tsp cornstarch, divided
1 lb. extra-firm tofu, pressed and cubed
1 Tbsp vegetable oil
½ cup vegetable broth
Splash of rice vinegar
1 ½ Tbsp fresh ginger, peeled and minced
5 cloves garlic, minced
1 tsp chili paste
2 cup carrots, chopped
1 can water chestnuts, drained and diced
¾ cup dry-roasted peanuts

Instructions
1. Cook rice according to package directions.

2. Meanwhile, combine 2 Tbsp soy sauce and 1 tsp cornstarch in a large bowl.  Add cubed tofu and toss coat.  Refrigerate for 15 minutes.

3. After tofu is marinated, heat vegetable oil in a wok or nonstick skillet over medium-high heat.  Add the tofu and brown on all sides.

4. While tofu cooks, combine remaining 3 Tbsp soy sauce, 1 tsp cornstarch, vegetable broth, rice vinegar, ginger, garlic, and chili paste in a small bowl.  Add sauce to wok and cook, stirring constantly, for about 1 minute until thickened. Add carrots; cover the pan and cook for 3-4 minutes, until carrots are tender.  Add water chestnuts and peanuts; stir to combine. Serve immediately over rice.

Thursday, October 17, 2013

Sriracha Honey Lime Skewers

Since this is a food blog, I should probably talk about the food KK and I had while on vacation.  We indulged in wine, gelato, and tiramisu, but I really want to tell you about the dining experience we had at Drogheria della Rosa in Bologna, Italy.  It was the best meal of our vacation, and also the best dining experience I've ever had.  We strolled past the Drogheria around 7:30 and it was empty, so we checked out a few other options KK found on Tripadvisor.  After making a loop, we ended up back at the Drogheria.  Without a reservation, the owner Emanuele was able to seat us at an outside table.  Aperitifs and antipasti appeared almost as soon as we sat down! There is no printed menu or prices at the Drogheria (we read the reviews so we knew what to expect), so the owner verbally described the primi and secondi menus and we made our selections on the spot.  I chose eggplant ravioli as my primi and guinea fowl with roasted vegetables for my main course; KK opted for orecchiette with lamb ragu and steak with a balsamic reduction.  The ingredients were extremely fresh and the flavor combinations were incredible! The owner also asked if he could select the wine for us, and we were not disappointed with his pick.  With no room for dessert, Emanuele brought homemade limoncello, grappa and another ½ bottle of wine to the table instead, allowing us to pour our own servings (and left the bottles for refills).  The meal was well worth the non-itemized bill of €85.  Sadly, I didn't take any pictures of the food, so you’ll just have to take my word for it and visit Drogheria della Rosa if you’re ever in Bologna!

Something’s gotten into KK - he marinated the chicken for these skewers on Tuesday (without asking for any advice!), and volunteered to cook Parmesan Crusted Chicken last night since I was getting home a little late from work.  Maybe I’ll have him write a guest post sometime soon! Back to the skewers – we didn't make many changes to the original recipe.  KK used bottled lime juice instead of juice from an actual lime, and he didn't use cilantro because, as you know, we rarely have fresh herbs on hand.  He marinated the chicken for 6 hours, so all I had to do was thread the chicken onto the skewers and grill them up using our cast iron grill pan.  Easy-peasy! I thought it would be too spicy, with Sriracha and red pepper flakes, but we both ended up adding more Sriracha sauce at the end! Keeping it healthy (after all that food we ate in Italy/Portugal), I nuked a bag of Birds Eye Steamfresh Asian Medley as a side dish with the skewers.

Sriracha Honey Lime Skewers
Adapted from Cooking Pinterest
Time: 15 minutes + marinade time
Serves: 2-3

Ingredients
3 Tbsp soy sauce
2 Tbsp honey
2 Tbsp lime juice
1 Tbsp vegetable oil
2 garlic cloves, minced
2 tsp Sriracha sauce
Red pepper flakes, to taste
1 lb chicken breasts, cut into 1-inch cubes
8-10 skewers

Directions
1. Combine soy sauce, honey, lime juice, vegetable oil, garlic, Sriracha sauce and crushed red pepper in a small bowl.  Place chicken in a Ziploc bag, pour marinade into the bag, and mix until chicken is thoroughly covered.  Marinate in the refrigerator for 1-8 hours.

2. If skewers are wooden, soak for 15-20 minutes to avoid burning.  Thread chicken onto skewers.

3. Heat grill or grill pan on medium high heat.  Grill skewers 5-6 minutes, flip and continue grilling for an additional 5 minutes or until skewers are fully cooked.

Tuesday, October 15, 2013

Apple Pull-Apart Bread with Vanilla Glaze

Why, hello there! Sorry I fell off the face of the blogging world for a few weeks - KK and I were on vacation! We spent 12 days in Italy and Portugal on an early 1st wedding anniversary trip, and it was phenomenal.  To kick off KK's first-ever trip to Italy, we flew into Rome and spent a few days exploring the typical tourist sites - Borghese Gallery, the Colosseum, Roman Forum, Pantheon, Spanish Steps.  After Rome, we setup base in Siena, rented a car, and tasted wines at various vineyards in Chianti, Montalcino, and Montepulciano.  We managed to pack 5 bottles in our luggage, so I'm looking forward to enjoying those over the next few weeks! Next up was Bologna where we ate like kings! We ate two gastronomic dining experiences where there was no set menu - the restaurant owners tell patrons what's on the menu each day, and they pair the wine for you.   Being the picky eater that I am, I was nervous at first, but both restaurants had plenty of options, and both KK and I were fully stuffed at the end of each night.  The final leg of our trip was in Lisbon (flights on TAP Portugal led us there), where we spent a few days walking up and down the seven (steep) hills of the city. We did a lot of walking in Lisbon, but also rested our feet while riding the historic Tram 28 across town.  All in all, it was a fantastic trip! Stay tuned for some pictures and more trip details later this week!

Now - going back a few weeks... I bet you can guess why I made this bread.  It was another way to use the apples we picked at Melick's Farm Stand! I used to bake somewhat regularly for my coworkers, but that's slowed down significantly as I've gotten more into cooking dinners, but I decided to treat them before I left for vacation.  I baked the bread at night, allowed it to cool completely in the pan, and covered the pan with tin foil overnight.  I decided that leaving the bread in the pan would make for easier commute since I had to carry it on my 1.2 mile walk and PATH ride.  I also mixed together the glaze ingredients at night, and stored it in spill-proof Tupperware.  I didn't pour the glaze onto the bread until it was time to serve it.  The loaf disappeared quickly, and my coworkers were surprised by how easy the recipe was! This bread would be heavenly if served warm, unfortunately that wasn't an option for me this time.  Nevertheless, I plan to make it again sometime soon (even if it's with a store-bought apple) because KK didn't get a chance to taste it! I urge you to try it because I know you won't be disappointed! 

Apple Pull Apart Bread with Vanilla Glaze

Adapted from The Comfort of Cooking
A quick shot at work with the glaze
Time: 45 minutes
Serves 6-8

Bread Ingredients

Cooking spray
⅓ cup granulated sugar
1 tsp ground cinnamon
¼ tsp ground nutmeg
16-oz. tube Pillsbury Grands Flaky Layers Biscuits
1 medium apple, cored and thinly sliced

Vanilla Glaze Ingredients

1 cup powdered sugar
½ Tbsp milk
¼ tsp vanilla extract

Directions

1. Preheat oven to 350.  Line a standard loaf pan (bottom and sides) with parchment paper, and coat with cooking spray.

2. Mix sugar, cinnamon, and nutmeg in a shallow dish and set aside.

3.  Slice or peel each biscuit in half, creating 16 rounds.  Coat each biscuit and apple slice with the cinnamon-sugar mixture.  Layer in the loaf pan, alternating between biscuit rounds and apple slices.  Begin and end the loaf with biscuit rounds.

4. Bake for 35-40 minutes, or until bread is fully baked.

5. For Vanilla Glaze: Mix all ingredients in a medium bowl and drizzle over warm bread.

Tuesday, October 1, 2013

Caramel Apple Crisp for Two

On Sunday, a group of my friends and I redeemed a Groupon at ArteVino.  In a nutshell: local artists lead 2-3 hour BYOB painting classes for participants at any level.  I love to scrapbook, which might be considered a form of art, but by no means am I good at painting/drawing.  Although it wasn't paint by numbers, the outline of the painting was already drawn for us on tracing paper, and we had to trace the image of Van Gogh's Branches of An Almond Tree in Blossom onto our canvas using carbon paper.  Even after tracing, I was still a little skeptical, but surprisingly the image came together as the instructor explained how we should paint the background, branches, and flowers.  Now I just need to find somewhere to hang it - we're a little short on wall space, but we'll figure something out!

KK and I made this individual-sized dessert after apple picking last year, so it was high on our list of recipes to repeat after visiting Melick's Town Farm last weekend.  I assembled the ramekin crisps while dinner cooked, and baked dessert while we ate dinner.  After letting it cool for a few additional minutes, the timing between dinner and dessert was perfect.  Using two medium-sized apples, I'm able to fill two ramekins from my Corningware set: the 15-oz. oval dish and a 4-oz. ramekin (not pictured below).  If you only have 4-oz. ramekins, this will probably fill to 3-4 ramekins, but KK and I prefer slightly larger portions if we're splurging for dessert! If you have it on hand, serve this a la mode with vanilla ice cream.  With or without ice cream - I promise you there will be no leftovers!
Caramel Apple Crisp for Two
Adapted from Hil's Blog
Time: 50 minutes
Serves: 2

Ingredients
2 medium apples
2 Tbsp caramel topping
2 Tbsp flour
4 Tbsp brown sugar
2 Tbsp butter
4 Tbsp quick-cooking oats
¼ tsp ground cinnamon

Directions
1. Preheat oven to 350.

2.  Peel, core, and slice apples.  Place into individual-sized ramekins.  Pour caramel topping over apples.

3. In a small bowl, combine flour and brown sugar; cut in butter until mixture resembles coarse crumbs. Add oats and cinnamon.  Sprinkle over apple slices and caramel.

4. Bake uncovered for 35-40 minutes.  Serve warm.
Related Posts Plugin for WordPress, Blogger...